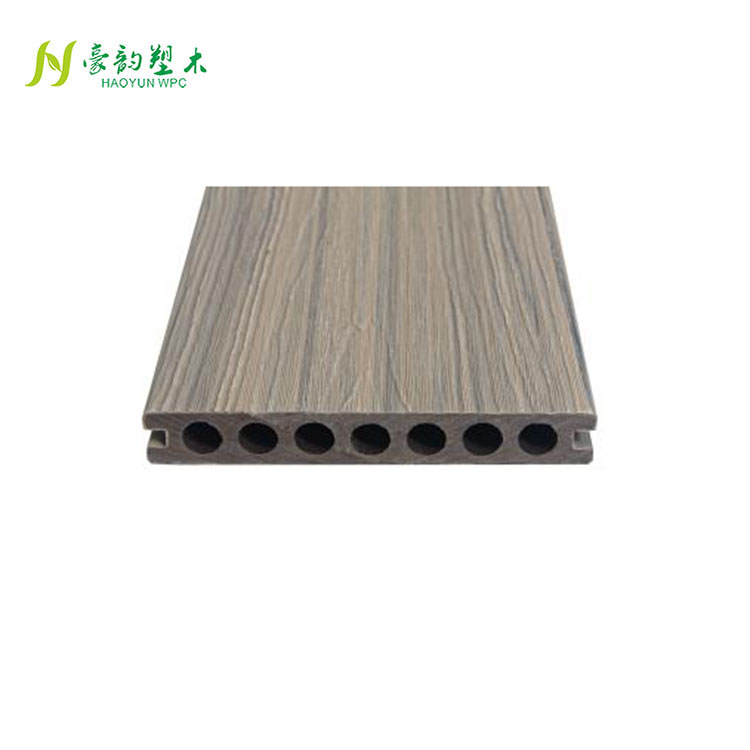
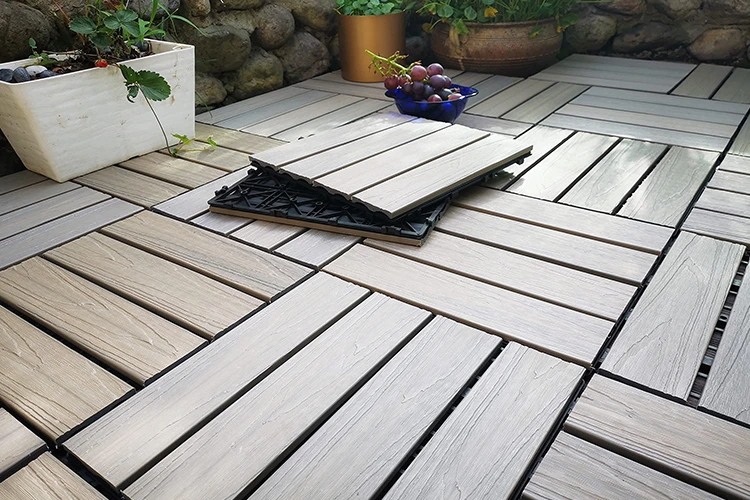
The installation process of WPC Decking (wood plastic flooring) is relatively simple. In this article, we will introduce its installation steps in detail.
1. Preparation
Make sure the construction ground is flat, dry, free of debris and dust. If the ground is uneven, it needs to be leveled.
Prepare the required tools and materials, such as screwdrivers, scissors, rulers, pencils, Clips (fixing clips), screws, etc.
2. Installation steps
Fix the keel (or beam): According to the ground conditions and design requirements, use expansion screws or other fixing methods to fix the keel to the ground. A certain distance should be maintained between the keels to ensure the stability of WPC Decking.
Install the first WPC Decking: Place one end of the first WPC Decking on the keel, making sure it is perpendicular to the ground. Use Clips to fix it to the keel and tighten the screws.
Install subsequent WPC Decking: Follow the same method to install subsequent WPC Decking in sequence. Each board should be tightly connected to ensure no gaps.
Fix the end cap: Use trim or L-shaped angle steel to fix the end of WPC Decking to enhance the overall aesthetics and stability.
3. Finishing work
Check whether all screws are tightened to ensure the stability of WPC Decking.
Clean up the construction site and clean up the extra screws, clips and other tools.
If needed, a layer of waterproof coating can be applied on WPC Decking to enhance its waterproof performance.
The above steps can complete the installation of WPC Decking. Have you learned it? In addition, during the installation process, please be sure to follow the product manual and safety specifications to ensure installation quality and personal safety.
We use cookies to offer you a better browsing experience, analyze site traffic and personalize content. By using this site, you agree to our use of cookies.
Privacy Policy